There’s often a requirement to spread terraces and podiums across many different levels. While it is straightforward to construct steps with a paving support system, steps limit the accessibility of the space considerably.
What do the regulations say?
Part M of the Building Regulations stipulates that on all buildings: both new and existing, ‘reasonable provision shall be made for people to gain access to and use the building and its facilities’ (excludes service/inspection-only areas).
Regulation or not, it’s good practice for building owners to enable straightforward access for all, regardless of disability.
If designing a space from scratch, it is simple to integrate sloped areas for wheelchair use. Upgrading existing patios, terraces and podiums to include ramps is straightforward too, and you needn’t ruin the design of your terrace with a utilitarian and outdated steel ramp.
How to install a paved slope using a paving support system
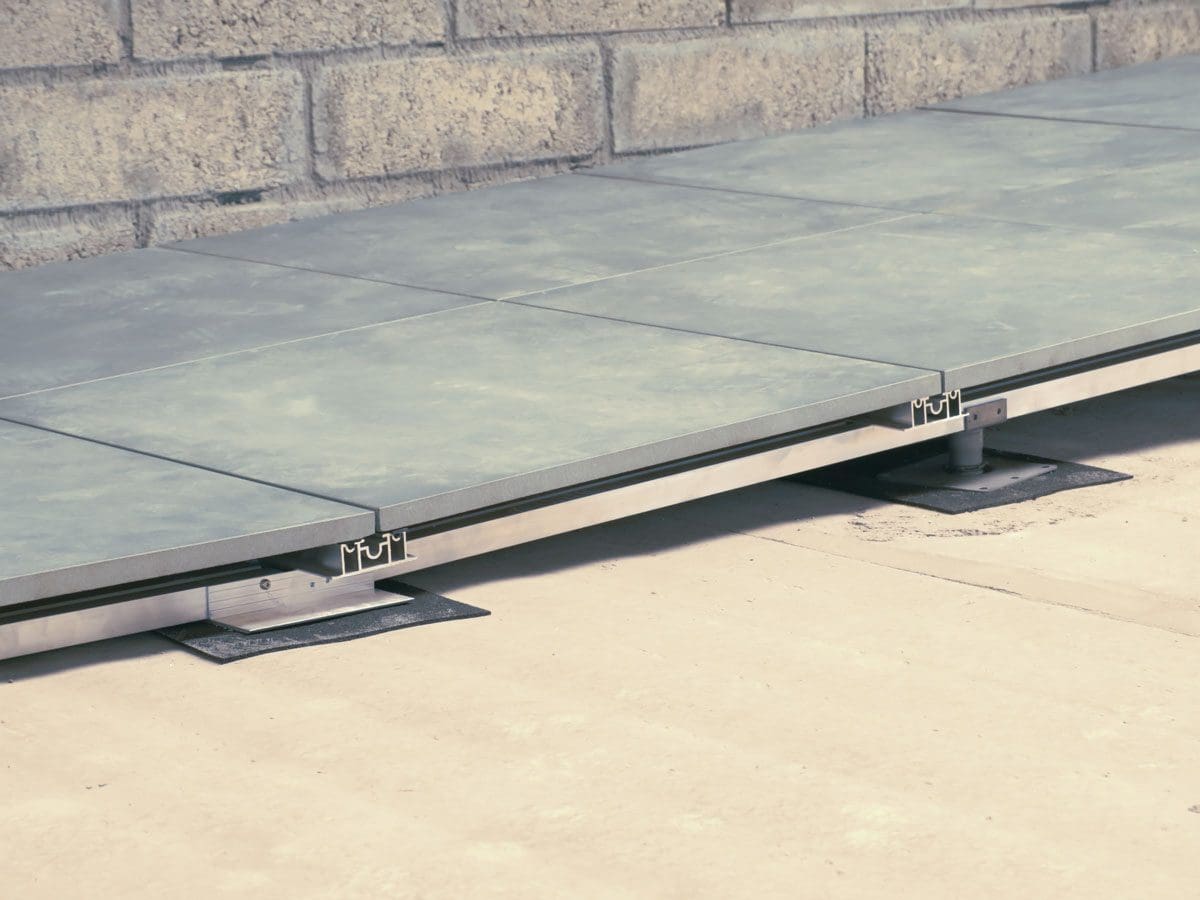
When laying paving on a podium or roof terrace, raised paving support systems are key as they retain maintenance access requirements; ensure weight is distributed evenly on roofs and allow for rapid drainage.
However, when using pedestals on a slope it is difficult to eliminate all movement. This is because the downward force doesn’t run directly through the centre of the pedestal shaft: rather, it runs at an angle.
So, you need a system that distributes downward force.
A rail-based system (such as TerraSmart® Rail) does just that, creating a lattice-like structure that provides a rigid frame for tiles, enabling the construction of a steady and strong ramp.
How to install
1. Lay primary rails in the opposite intended direction of paving courses
2. Raise primary rails onto adjustable pedestals and adjust as required until level on both sides of the ramp
3. Install top rails perpendicular to primary rails, with 100mm of cantilever over the edge for an elegant finish
4. Insert paving stops and edge brackets, which will hold paving in place and prevent any movement in tiles
5. Lay first paving course, using spacers to ensure even tile spacing
6. Continue installing paving, then add final paving stops to complete the area
Without a rail-based system like PaveRail, high or moderate foot traffic levels can move tiles. Creep of this kind is eliminated with a high-specification rail system.
Questions about this? Contact us.